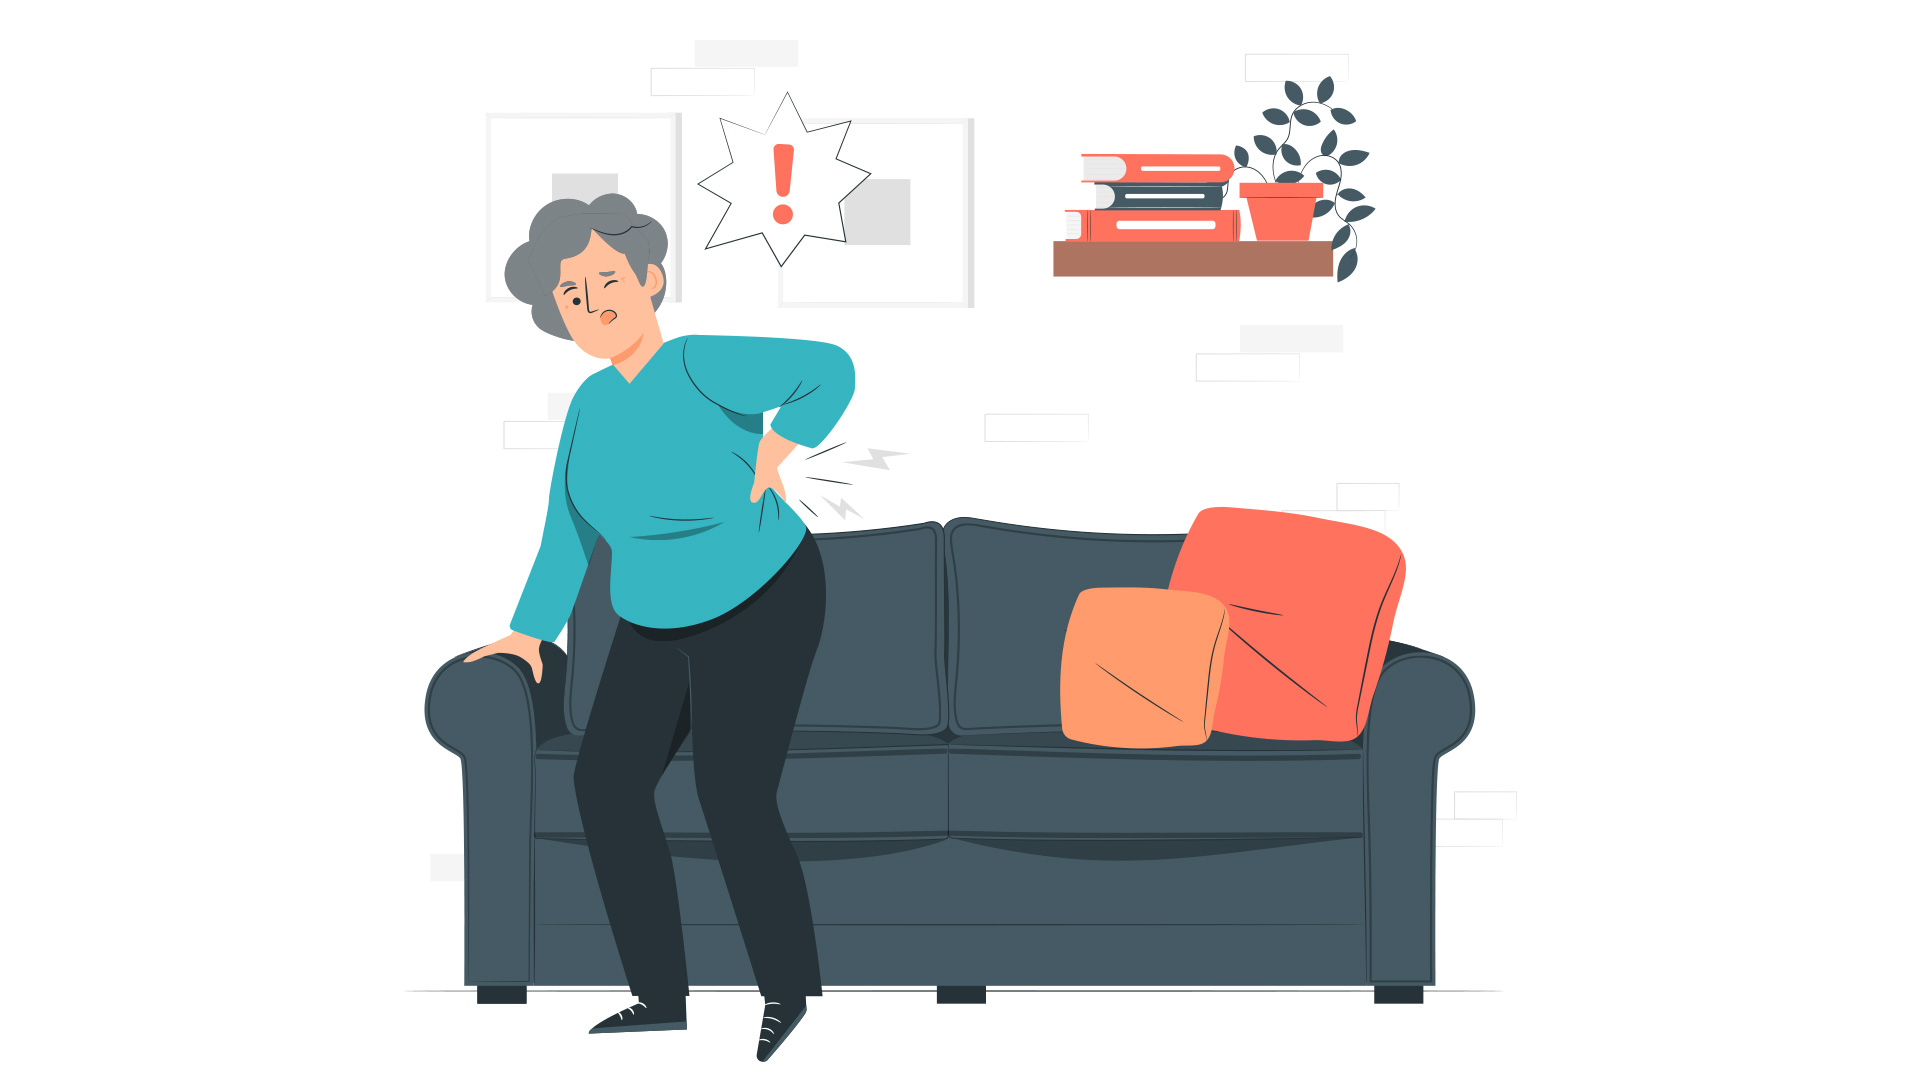
Back pain is a common problem these days, irrespective of age and gender. Though there are OTC drugs and other medications, it is wise to go natural. Thus, yoga can be a great way by which you can take care of back pain.
Here are 4 amazing yoga asanas that will help you control back pain.
Makarasana –
Also known as the crocodile pose, Makarasana is a great yoga posture that helps in back pain.
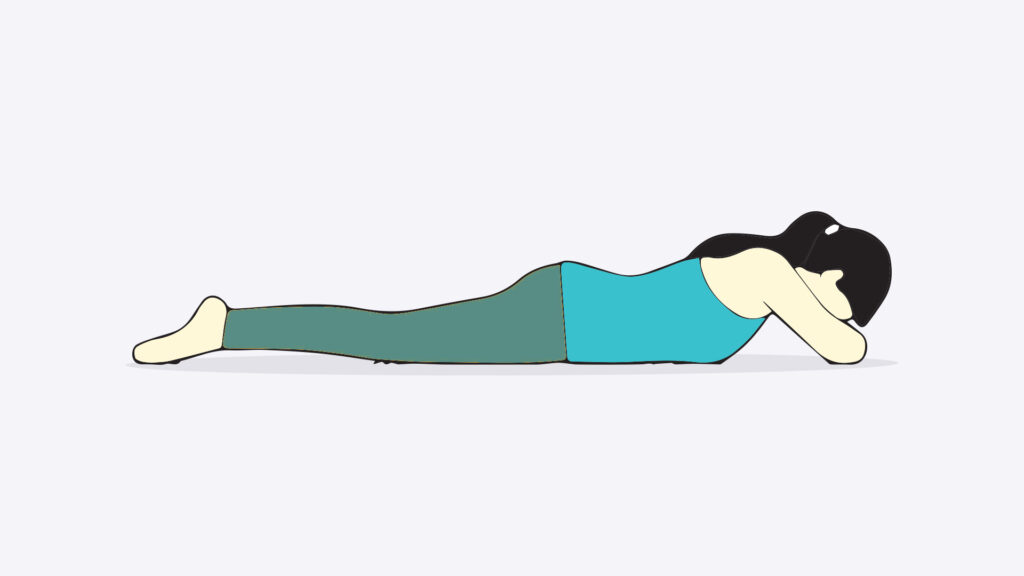
- First, you need to lie on your stomach.
- Then bend your right leg slowly, creating a 45° angle with the calf and thigh.
- Allow the left leg to keep lying straight just behind you.
- After doing so, place the left cheek on the yoga mat and stare at the right side.
- Place your hands underneath your left cheek, as if they are a pillow.
- Just rest in this position for at least 10 – 12 minutes. While doing, you must make sure you are breathing deeply.
Salabhasana –
This yoga asana is also known as the Locust pose. Shalabhasana mostly focuses on the focal points of the legs.
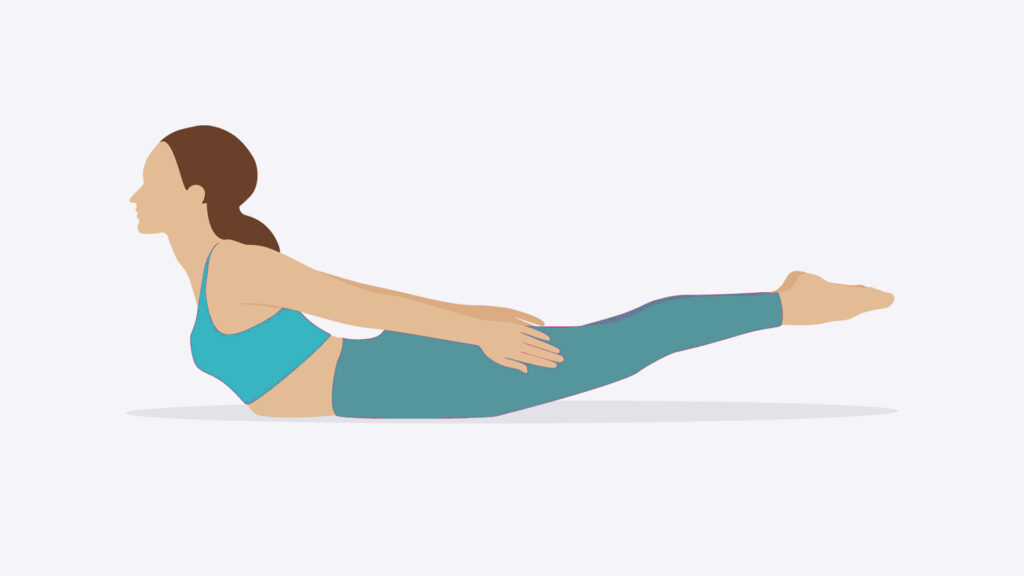
- Lie down against your abdomen with your chin carefully resting on the floor.
- Now, place your arms on both the sides of your body and then with the help of your fists even against the pelvic girdle.
- Keep inhaling and lift both the legs at least 5-8 inches above the surface of the floor.
- It will be a bit difficult when you do it initially, but you have to hold this position till you are feeling a pull on the bottom area of the spine.
- Retain this position for 6-7 minutes while taking breaths.
Bhujangasana –
Popularly known as the Cobra pose, you have to start Bhujangasana by lying on the floor.
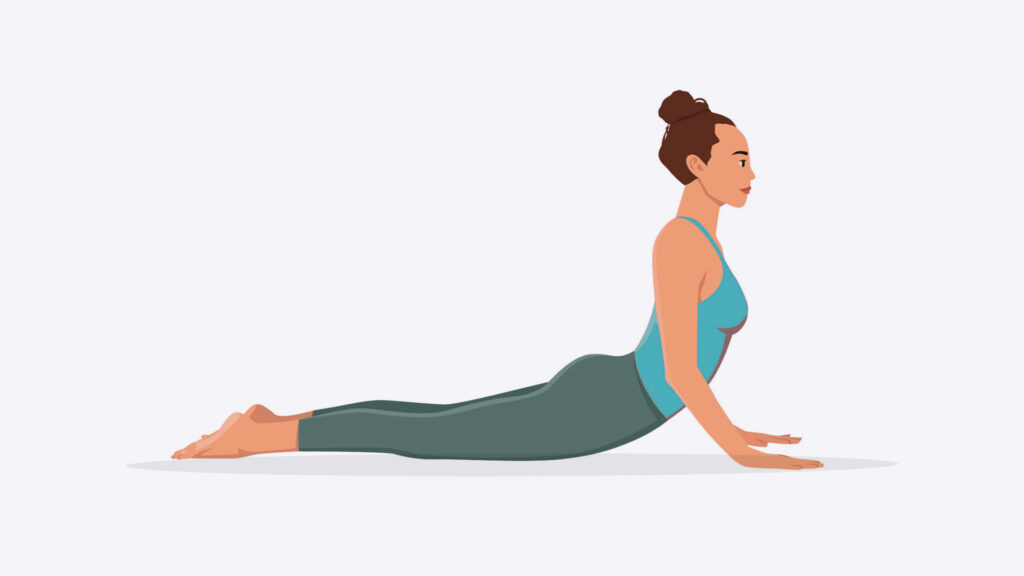
- Now, stretch both of your legs back and place the top portion of the feet against the surface.
- Slowly spread the hands just under your shoulders on the floor. Then hug the elbows back to the perimeter of the body.
- Press the thighs and top of the feet while placing the pubis firmly onto the floor.
- Finally, slowly yet steadily begin lifting the chest off the floor and keep going till a height that you think you can maintain.
- Firm the shoulders to an even level and maintain the pose.
- Hold the pose anywhere between 20 – 30 secs while consistently breathing easily.
Saithalyasana –
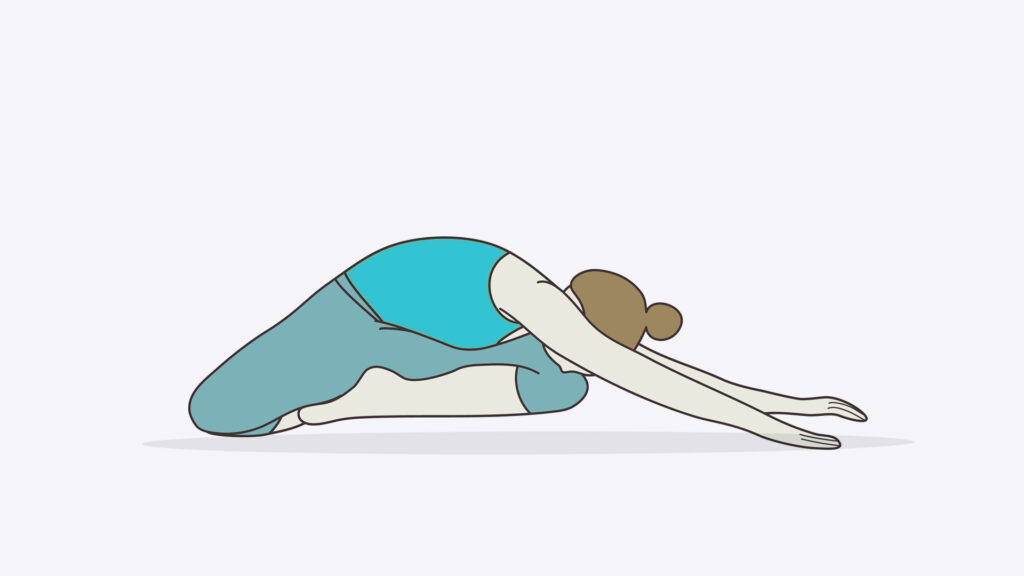
- First you need to sit on the floor with both the legs directly stretched out at the front of the body.
- Now, bend the right leg and try to place the sole of your right foot inside the left thing.
- Make sure that the entire right leg rears well on the floor.
- Then, fold the left leg outwards of the body and ensure that the foot lies just beside the left buttock. Place both the hands just beside the right ankle.
- While slowly inhaling, raise your arms. After doing so, exhale and bend forward over the right side of the knee and touch your forehead to the right knee.
- This is the final position which you need to maintain for at least 15 – 20 seconds. Repeat it 3-5 times.
Final Thought
Carrying out all of these postures can be a bit difficult if you are trying them for the first time. But, don’t forget to practice them regularly and you will get used to them. You’ll see amazing results in a few weeks.


