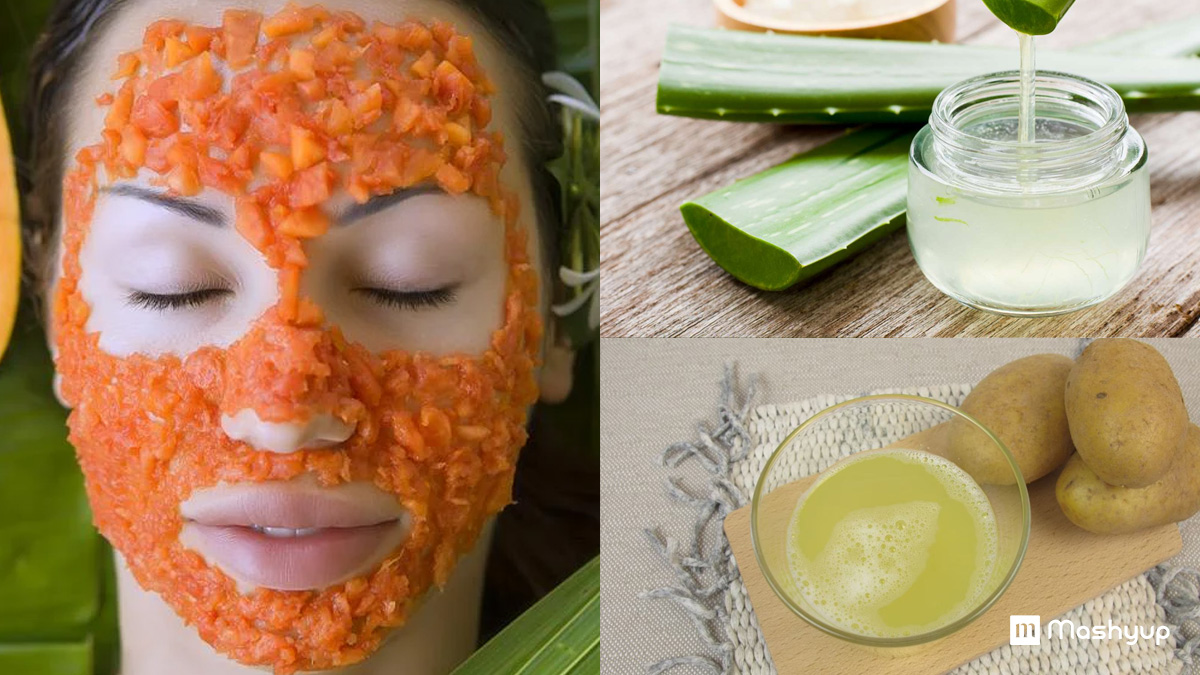
Whatever occasion it is – a wedding function, birthday, farewell, or just a regular skincare regime, pampering your skin with a facial is always a good idea. Although everyone loves the glow and freshness you get from professional salons, but these treatments can be burden on pockets and even time consuming.
Thankfully, you can experience similar results with naturally occurring ingredients that are safe to use and easy on pockets as well.
So, further is a step by step guide to Homemade facial steps with natural ingredients for a glowing and healthy skin.
Step 1: Cleansing
What is cleansing ?
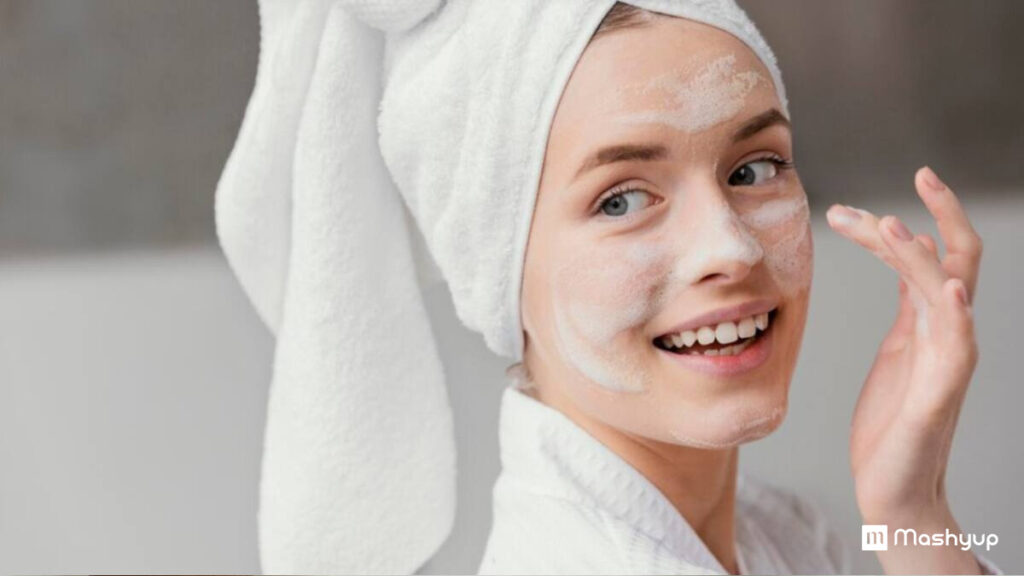
You wash your face everyday, but have you ever considered if it’s cleaned properly or not ? Cleansing refers to religiously making your face oil free, dirt free, and makeup free. It’s essential as we don’t want the scrubs and masks in the next steps to get mixed with dirt and debris on your face. As the first and most important step of the facial process, make sure to choose ingredients that are suitable for your skin type.
Options you can choose :
Coconut oil : Coconut oil is a very effective method to remove any kind of makeup residue from the skin. It, at the same time, excellently hydrates the skin too.
- Direction: Massage your face with coconut oil before rinsing your face.
Milk and Honey : Milk, being a natural cleanser, would deeply cleanse your skin, while the antibacterial properties of honey would remove all infection-causing bacteria on the skin.
- Direction: Mix 2 tablespoons of milk with 1 teaspoon of honey, dip a cotton pad into the mixture, and gently wipe your face to remove impurities.
Rose water : Rose water is a well-known cleanser that is gentle and refreshing at the same time. It works very well on sensitive skin and can be used after post facewash.
Step 2 : Exfoliation
Lack of moisture, dust, and improper skincare routine can result in dry and flaky skin, and hence the removal of this type of dead skin is important for healthy, glowing skin. It is where exfoliation comes into play, it is used for removing dead skin cells, and hence, it is important as it improves the texture of the skin and unclogs the pores.
Options :
Oatmeal and yogurt : The mixture is a great exfoliant as oatmeal is a gentle exfoliant, while yogurt contains lactic acid, which brightens and softens the skin.
- Directions: Mix 2 tablespoons of oatmeal and yogurt to get a paste like consistency and gently massage it on your face in circular motions.
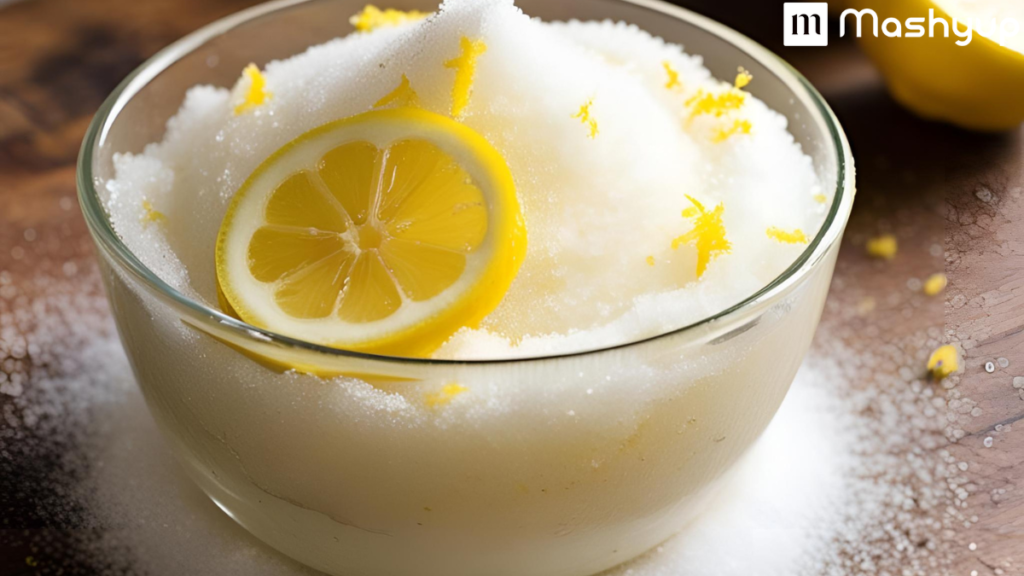
Sugar and Lemon : Sugar, being an excellent exfoliator, scrubs your skin deeply while lemon lightens the blemishes present on your face.
Coffee grounds and coconut oil: Coffee helps tighten the skin and reduces puffiness, while coconut oil moisturizes and makes it soft. Hence, when mixed serves as a great scrubber with moisturizing properties.
- Directions: Blend coffee grounds with coconut oil and gently scrub for a revitalizing effect.
Step 3: Steaming
Steaming is another essential part of a facial treatment. But have you ever wondered why ?
It is because steaming opens up your pores during a facial spa at home, allowing your dirt to be washed out faster. Also, it improves blood circulation, resulting in glowing and healthy skin. Applying masks and creams after steaming elevates their effectiveness.
Directions:
- Boil a bowl of water with herbs like chamomile, mint, or green tea, or fill some water in a steamer with such ingredients.
- Place a towel over your head and over the bowl of boiled water or steamer.
- Pat your face dry with a clean towel.
Step 4: A Good Massage
Massaging undoubtedly provides the skin with the nutrients it requires. This step brings a natural glow to your face; doing it immediately after steaming will fill in the essential nutrients needed by your skin into the open pores.
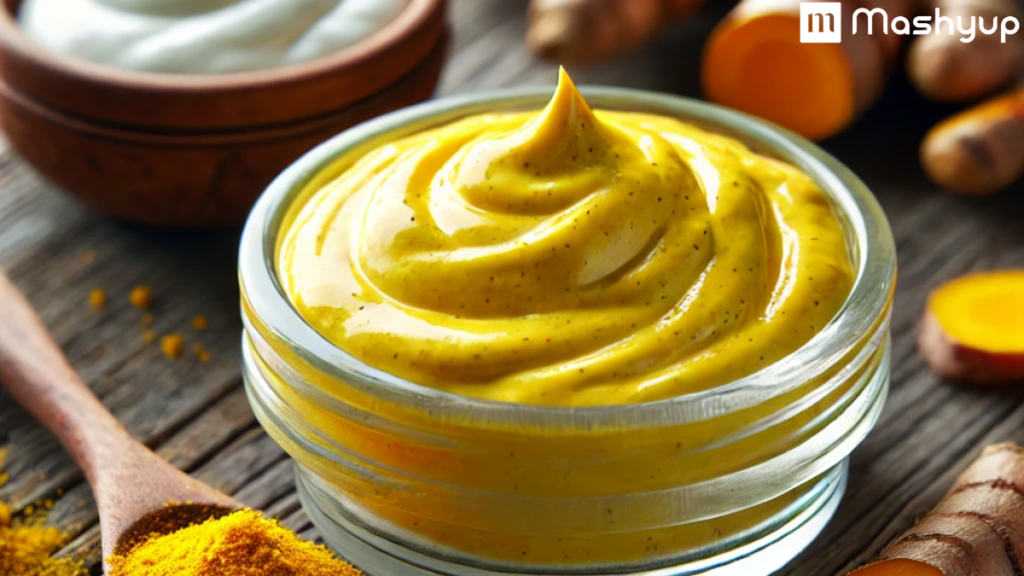
Fresh milk cream/yogurt with a pinch of turmeric powder
Directions:
- Mix 3 tablespoons of fresh milk cream or yogurt with a pinch of turmeric and start massaging your cheeks with fingers in circular motions.
- Continue massaging your check for 1 to 2 minutes, then gradually move to the nasal area and forehead and continue with strokes and motions.
- Do not forget to massage your jawline and the sides of the eyes, too.
- Continue the process from 7 to 10 mints and wipe off the cream with a clean and wet cloth.
Step 5: Face Mask for Deep Nourishment
Masking is something we all enjoy; hence, applying it weekly should be a staple practice. This all-in-pack therapy cleans, moisturizes, hydrates, and glows your skin naturally.
Options
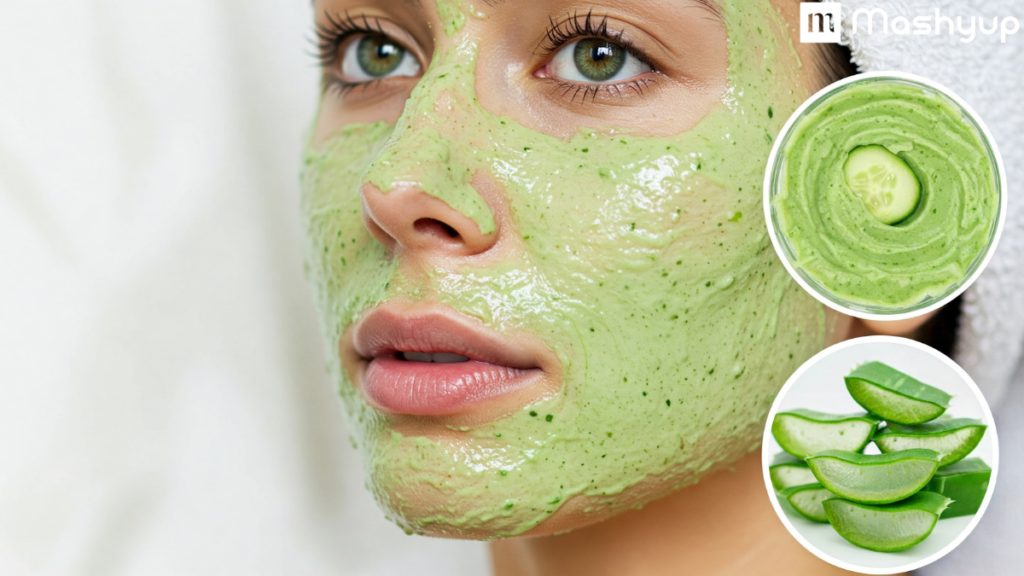
- Aloe vera and cucumber : When you want to opt for a calm and soothing option, go for this face pack.
- Directions: Blend aloe vera with cucumber juice , then apply it on your face evenly and leave for 20 minutes. Wash off with cold water.
- Banana and honey mask: If you want to hydrate and lock some lost moisture in your skin, then this mask might be the best option.
- Directions : Mash a ripe banana properly and add some honey into it. Apply the mixture on your face for 15 minutes and rinse it off.
- Turmeric and Yogurt: If you are looking for a mask that can instantly brighten up your face or want to indulge in something that can fight acne, then a mixture of turmeric and yogurt would be best.
- Directions : Mix teaspoon of turmeric and yogurt well and apply it on your face for 10-15 minutes before rinsing.
Step 6 : Toning
Toning can be the final step in your facial; its important because it tightens the pores and helps restore the skin’s pH balance.

Options:
Green Tea toner: It is rich in antioxidants.
- Direction: Just brew some green tea, put that water into spray water, and use it whenever possible.
Apple Cider Vinegar (Diluted): It is used to control oil and acne on the skin.
- Directions: Mix one portion of apple cider vinegar with two parts of water and gently apply it on your face.
Rose water : It’s the most hydrating and calming toner, which refreshes your face instantly.
- Directions: Soak a cotton pad in rose water and dab it over your face.
Step 7: Moisturizer
To retain the overall skincare done, you need to lock the hydration in your skin through a moisturizer. It keeps your skin soft and supple.

Options
- Shea Butter
- Coconut oil
- Alovera gel
By using natural components in this DIY facial routine, you may attain healthy, glowing skin without breaking the bank at salons. Give it a try and relish your organic glow!


